

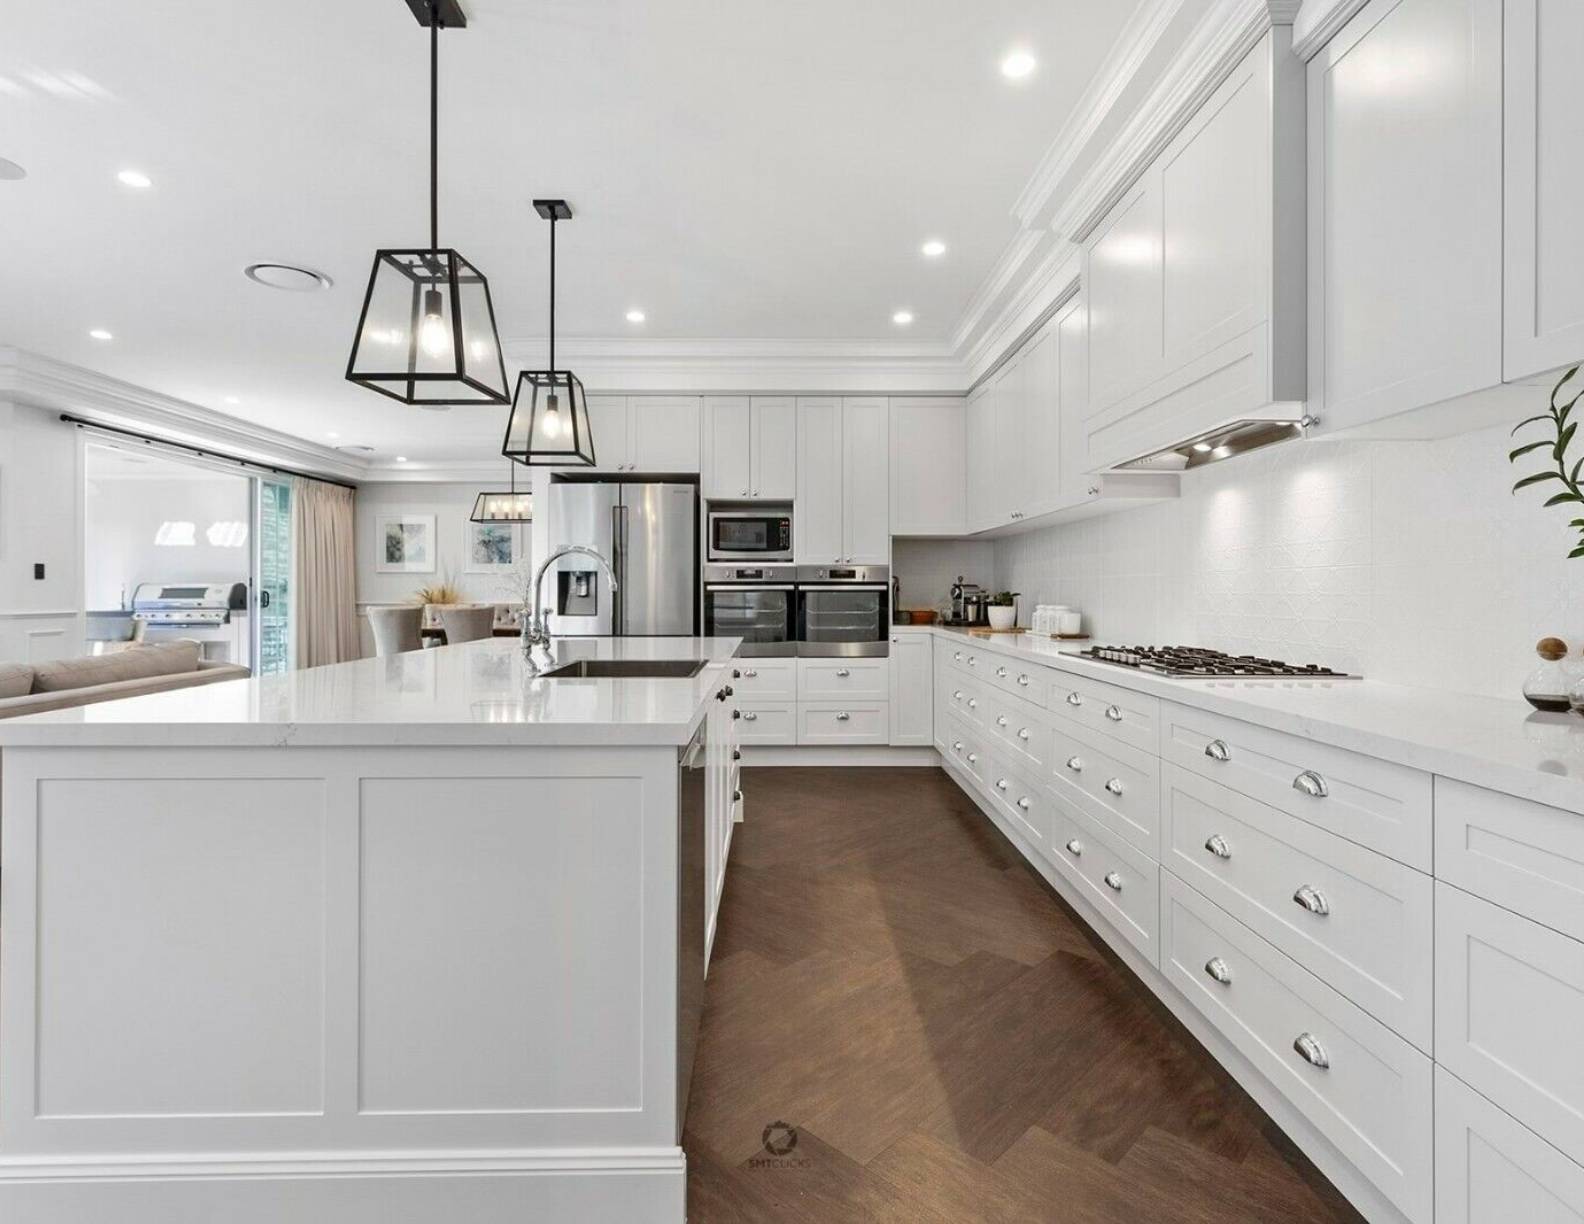
Kitchen Island Designs for Real Sydney Homes (2026 Guide)
You’re standing in the gutted kitchen of your Sydney semi, holding a showroom photo of a huge stone island. Then it hits you. The room is long and narrow, and that island would have you squeezing past the fridge sideways every night. This is the most common trap with kitchen island designs. People choose them for looks, and the island ends up blocking the room it was meant to improve.
Our stair design team works in open plan homes where the kitchen often sits right beside the staircase. When we set out a staircase, we map the whole route a person walks from the bottom step. That route usually runs straight past the kitchen bench, so we plan around movement before we think about finishes. This guide covers how to size and place an island bench, which styles suit different Sydney homes, and which jobs belong with licensed trades.
Decide what your island has to do before you pick a look
Most islands are asked to do three jobs. They store things, they seat people, and they become the spot where everyone gathers while you cook. Very few islands in an average Sydney kitchen do all three well, so rank those jobs for your household before you look at a single benchtop sample.
Ranking them is easier than it sounds. Write down who is in the kitchen at 7am and again at 6pm, and what each person is doing. If mornings mean three kids eating cereal, seating comes first. If evenings mean one cook surrounded by lunchbox containers, storage wins.
What we’d do first: pick the job that matters most and let the other two give a little. If nobody sits at your bench now, a row of stools won’t change that.
Size the island bench to your room, not the showroom
It helps to know what “generous” really looks like. One Sydney project published on Houzz Australia features an extra large island in Caesarstone Calacatta measuring 3.2 x 1.4 m, with an integrated fridge and freezer nearby. It looks superb in photos. Most terraces and apartments, though, can’t fit an island that size and still leave room to walk.
Tape it out on the floor before anyone draws it
This is the same check we use when we set out a stair in a finished room. Mark the island’s footprint on the floor with masking tape, then open the dishwasher, oven and fridge doors as far as they go. Walk from the fridge to the sink to the cooktop carrying a laundry basket. Finally, get two people to pass each other while one of those doors is open.
If you have to turn sideways or wait for someone, the island is too big or in the wrong spot. We won’t give you one clearance figure, because the right one depends on your appliances and layout. Confirm clearances with your designer or builder against the final plans.
When a smaller island, or no island, is the smarter call
A small kitchen island has to earn its place. Pull out pantry units suit narrow rooms and often hold more than an island cupboard would. A slim prep island, or a peninsula (a bench joined to your existing cabinetry at one end), can add bench space without creating a second walkway.
Our view is simple. If the tape test fails, skip the island, because a cramped island is worse than none at all. Lock in the layout before anything is ordered, since changes made once the cabinetry is in production are the ones that cost real money.
Kitchen island designs that suit terraces, apartments and open plan homes
The kitchen island ideas Sydney homeowners save online rarely come with a floor plan attached. Start with the house you actually live in, then match the style to it.
Narrow terraces and semis
Where circulation is tight, a curved kitchen island is the gentler choice. Rounded ends are easier to walk past, and they’re kinder to hips and to small heads at toddler height. The catch is that curves need an experienced maker. We see the same challenge on curved staircases, where bending timber to a smooth radius takes real skill and a poor curve shows every flaw. Tape out a rounded end this week and see whether the walkway feels easier.
Apartments and units
Here you want something slim or mobile. A narrow fixed island, or a unit on lockable castors, adds bench space without new plumbing. If you’re thinking of moving water or gas, check your strata by laws and talk to your owners corporation before any work starts. NSW Fair Trading is a sensible first stop if you’re unsure how strata rules apply to you.
Open plan family homes
In a big open plan kitchen layout, a large island can feel a bit cold. Material contrast usually fixes that. A timber toned island grounds the space, and stone benchtops with warmer accents balance it. Warm lighting and natural materials make the whole room feel lived in.
If you want a kitchen island with seating, put the stools on the side facing the living area or garden. That keeps whoever is sitting there out of the cook’s path.
Plan the island around your stairs and sightlines
Most island guides skip this part, and it’s the part we know best. In plenty of open plan Sydney homes, the staircase lands right beside the kitchen. An island placed without thinking about that landing creates a traffic jam every single day.
Stand on the bottom step and trace your usual route to the back door or living area. If that route runs into the seating side of the island, or an open dishwasher door, move the island or flip the stools. An island that makes you sidestep every time you come downstairs will annoy you for years.
Stairs also come with rules of their own. The National Construction Code, published by the Australian Building Codes Board, covers how stairs must be built, so ask your builder or certifier to check the final layout near the stair. They can confirm what applies to your home before anything is fixed in place.
Sightlines matter just as much. An open or floating staircase is often the feature of the room, and a tall island with a raised breakfast bar can hide it. A single level bench keeps the room reading as one space. You can also match the island’s timber tone to the stair treads, or contrast it on purpose, so the two pieces look planned together rather than bought separately.
What we’d do first: draw the stair and the island on the same plan before you choose a finish for either.
Services, extras and the parts you shouldn’t DIY
Work out early whether the island will hold a sink, a cooktop, a wine fridge or power points. Every one of those fixes the island’s position, so none of them can be an afterthought.
Well chosen extras can keep clutter off the bench. One published renovation of a kitchen that hadn’t changed in decades built a wine fridge into the island and tucked a breakfast prep bar behind pocket doors. Ideas like these work best when they’re on the plan from day one.
There’s plenty of groundwork you can safely do yourself. Measure the room, tape out your options, collect references and list every appliance with its dimensions. Plumbing, gas and electrical work must be done by licensed trades. For bigger jobs, check your builder’s licence using NSW Fair Trading’s building guidance.
Honestly, skip the gimmicky pop up gadgets and the oversized overhangs you’ll never use. Deep drawers will serve you far better than cupboards with doors.
Frequently asked questions
How big should a kitchen island be?
Size it to your room and the walkways around it, not to a standard figure. One extra large Sydney example measures 3.2 x 1.4 m, so tape out your own footprint and test it with the appliance doors open.
Can you put an island in a small kitchen?
Sometimes, though a slim prep island, a peninsula or a mobile unit often works better. If two people can’t pass each other during the tape test, skip the island and use pull out pantry units instead.
Are curved kitchen islands practical?
Yes, especially where circulation is tight, because rounded ends are easier to walk around. You’ll need an experienced maker for the curved joinery and benchtops.
Should the sink or cooktop go in the island?
Only if the plumbing, gas or ventilation can reach it without compromising the layout. All of that work must be done by licensed trades.
How do I stop an island clashing with a nearby staircase?
Keep the path from the bottom step clear of stools and open appliance doors. Keep the island low, too, so it doesn’t block the view of an open staircase.
Start with tape, not tiles
The best kitchen island designs start with how your household moves, not with a photo. Your next step is simple. Tape out the island this weekend, open every appliance door and photograph the result from the doorway and from the bottom stair. Bring those photos and your floor plan to a design conversation and you’ll make quicker, better decisions. If your kitchen sits beside a staircase, get in touch with our team and we’ll help you plan both so they work together.
Written by the Signature Stairs team. We design and build custom timber, floating and curved staircases for open plan homes. Every stair we set out is planned around the rooms it opens onto, including the walkways past the kitchen bench.

No comments yet.